![]()
![]()
![]()
![]()
|
|
|
|
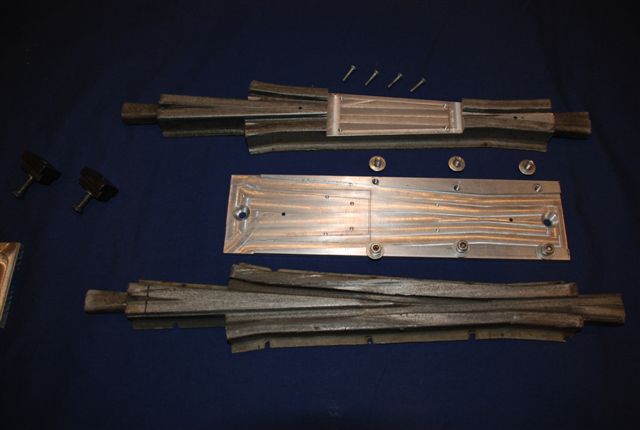
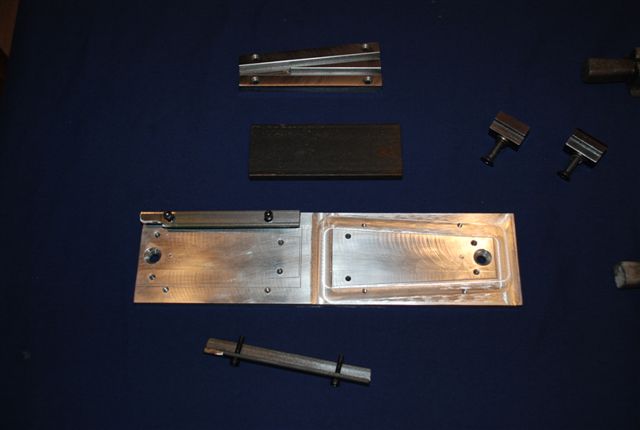
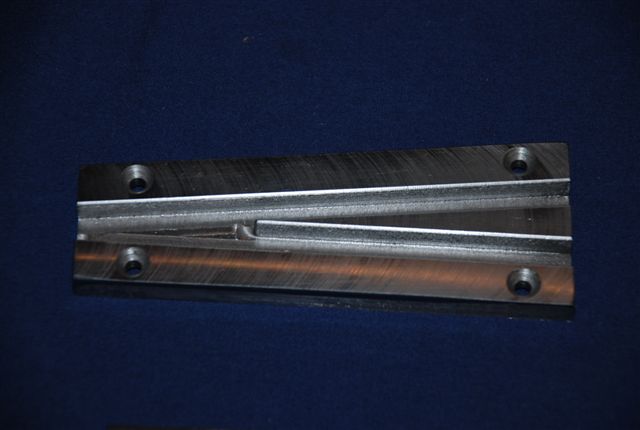
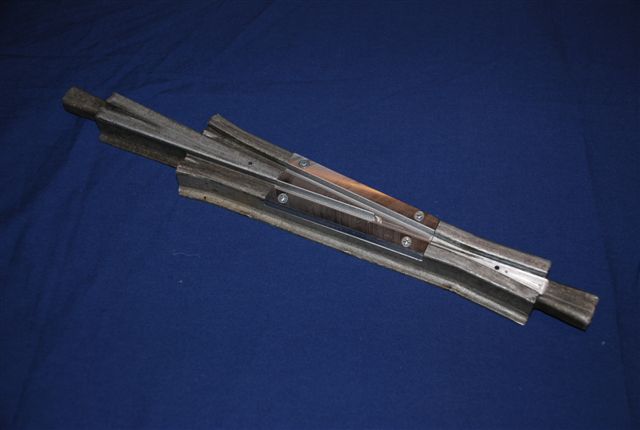
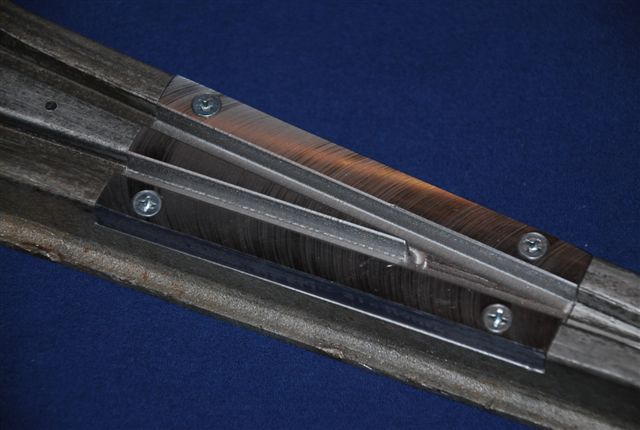
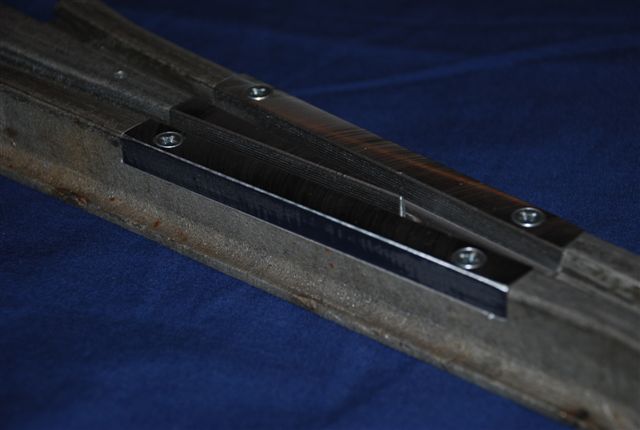
I took on rebuilding of aluminum switch frogs for a 7.5" gauge track that I attend frequently. They haul a large number of public passengers and the aluminum switch frogs were having to be replaced frequently. I am milling out the center section of the worn out frog and machining a steel insert that replaces the milled out section. This insert should last a long time. I have a CNC mill and have made up fixtures used to machine the old frog and the new insert. I'm guessing that, once the fixtures are in place, I can do a frog and an insert in about 45 minutes. Each new frog style (manufacturer, frog number #9, #10, etc.) requires
different fixtures and different CNC programs. It took me about 4 days to
setup for the first type (the track has several different types) but the next
ones should only take me about a day or so.
|