 |
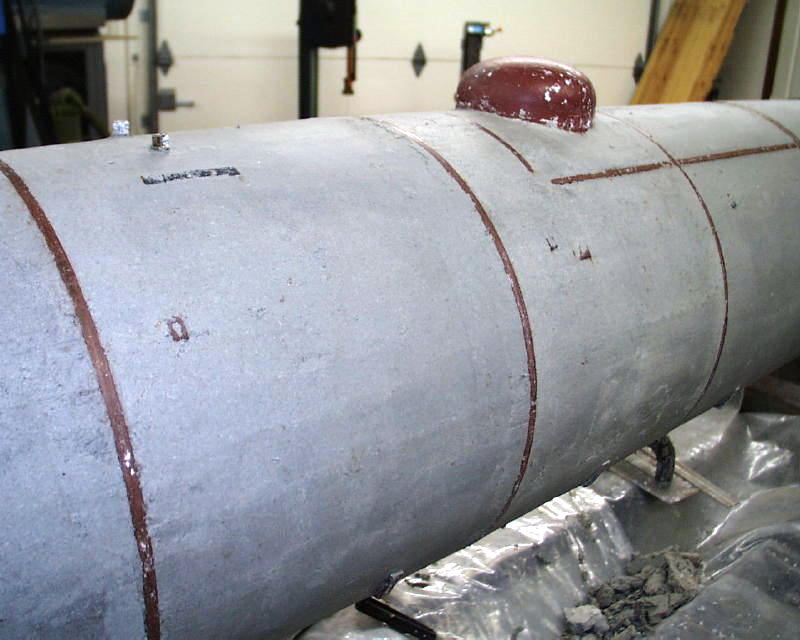
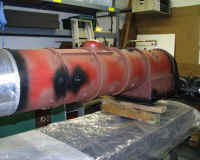
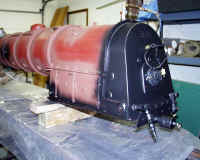
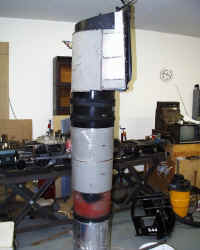
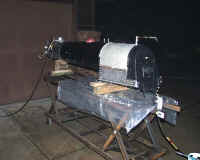
These two photos show the state of the boiler just prior
to applying the lagging. |
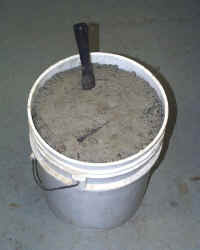 |
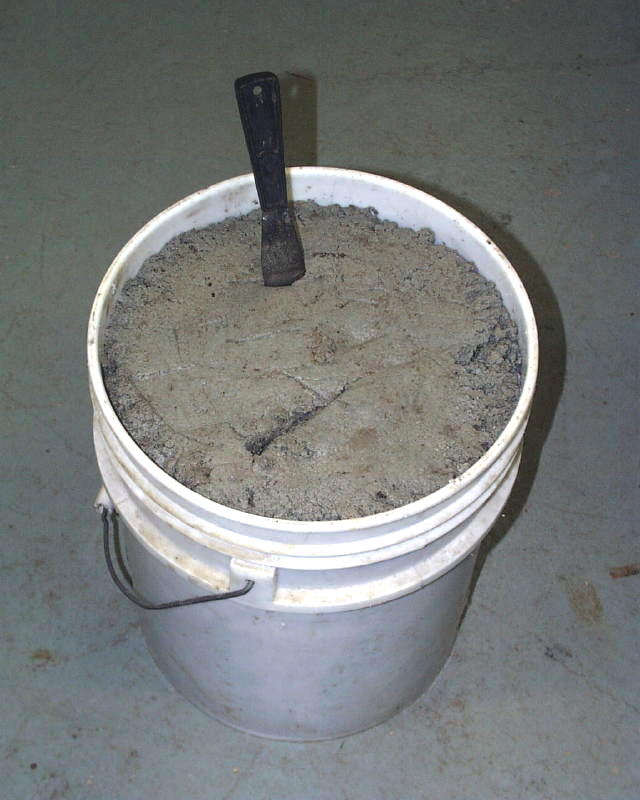
The lagging consists of a powdered form of asbestos.
It was recovered when the old boiler was removed from the locomotive and water was added to turn it into
a thick paste. When dry it hardens to something like a grainy, fibrous
Plaster of Paris. It is not dangerous when in its paste form and
is entirely enclosed by the jacket after it has been installed. The
jacketing (and lagging) cover the entire boiler except for the backhead
and about the last 3 inches of the rear outer wrapper.
The lagging varies in thickness from about .25" at the smokebox
end to about .625" at the firebox end of the boiler. The
lower outside portion of the firebox is also covered to a thickness of
approximately .25". |
 |
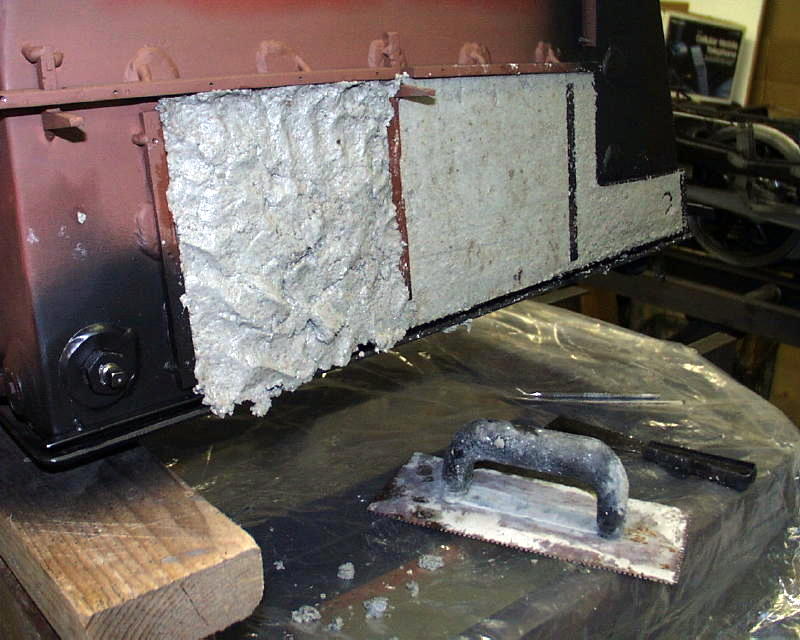
Here I have started applying the lagging to the sides of
the firebox below the footboard where the false firebox sides will later
cover
it.
I used plastic gloves and pressed the lagging in place with my
hands. I then used
a putty knife and masonry trowels to smooth it in place level with the
jacket supports. |
 |
At this point I have covered both sides of the firebox and
the outer wrapper. |
 |
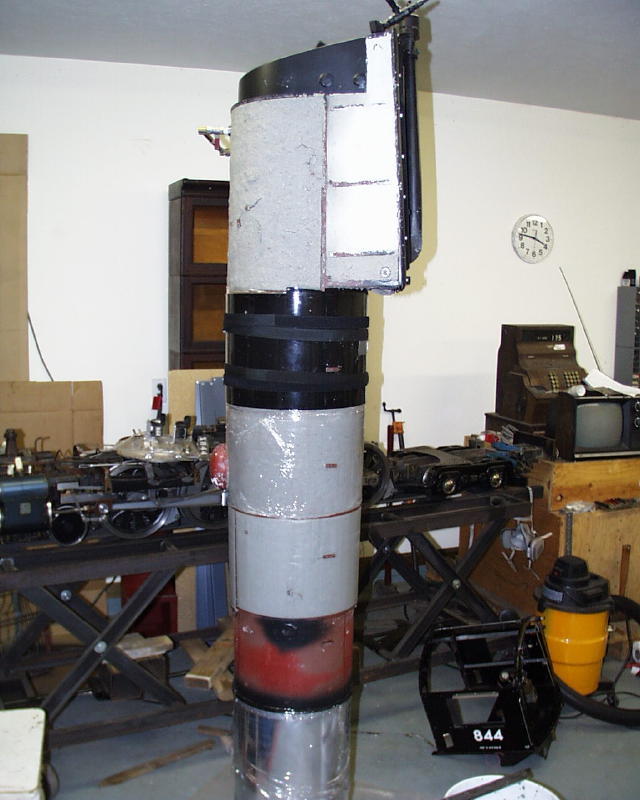
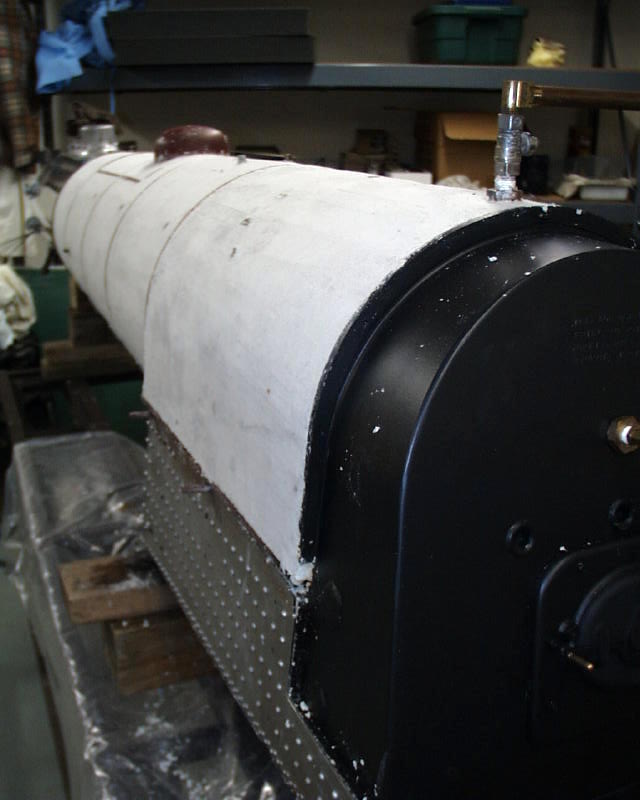
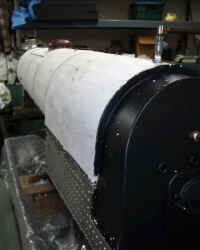
I know that this looks strange but I tried applying the
lagging to the underside of the boiler barrel while it was horizontal
but it kept falling off!
After I applied the lagging to a section I covered the section with
tightly stretched Saran Wrap to keep the lagging from slumping while I
did the next section. I then temporarily installed the
jacket. The Saran Wrap was left in place to prevent the lagging
from adhering to the jacket while it dried. |
 |
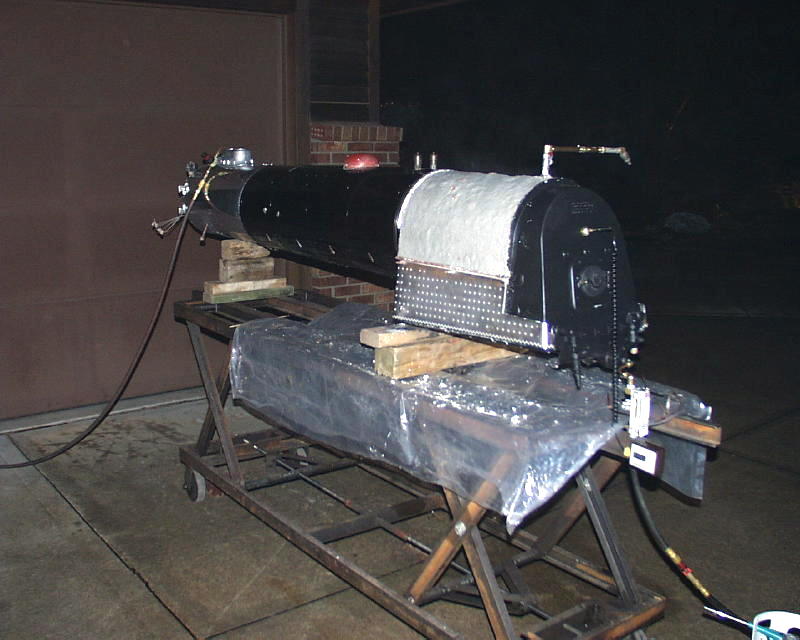
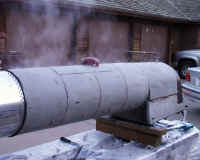
I used low temperature heat in the boiler to accelerate
the drying process. The boiler was full of water and open to the
atmosphere to prevent pressure buildup. |
 |
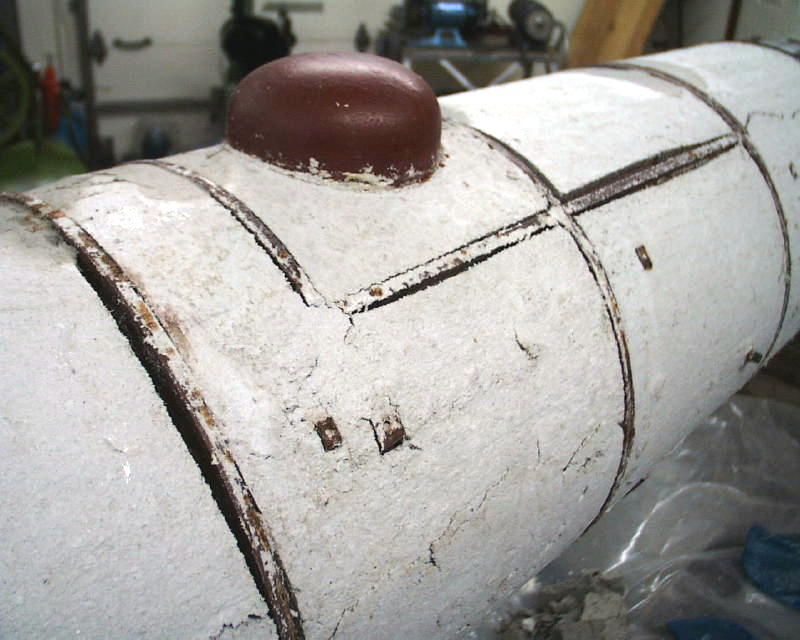
Unfortunately during the drying process there was
significant shrinkage in the lagging which reduced its thickness and
caused it to pull away from the jacket support rings.
This required that I apply a second skim coat of lagging material. |
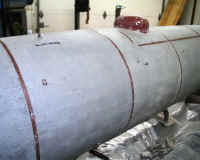 |
The thickness of the lagging has been restored and the
cracks have been filled and it's ready to be dried again. |
 |
Drying again under low boiler heat ... |
|
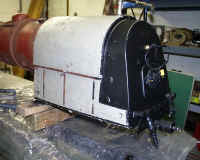
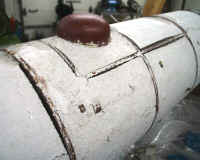
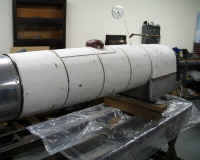
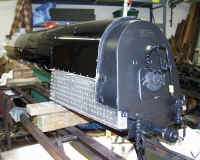
Final lagging product. This time it dried nice and
smooth with no cracks and at full thickness which will allow it to
support and protect the jacket from dents.
|
|
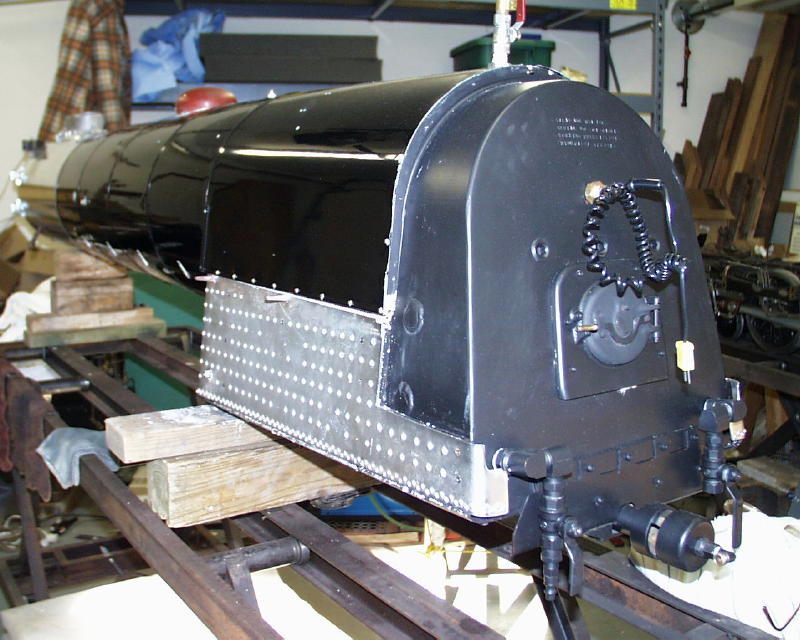
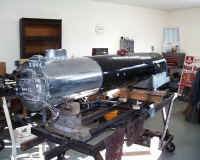
At last most of the major jobs involved in fitting the new
boiler are finished and it's ready to start mounting footboards,
handrails, steam dome, generator, etc.
The only major job remaining is connecting the throttle plumbing in
the smokebox.
|